This is a very vast concept and way too much for one post so I will start off basic and add subsequent posts as I go deeper. The first step is to obviously install Git. At the time of writing this I am using Git 1.8.1.2. Since this lends itself to personal preference and team preference I will not cover the install.
Once you have Git installed, let’s open a command prompt. The very first command I want you to run is simply: Git. This will ensure that you installed Git and we are ready to go. You should see a screen as such below.
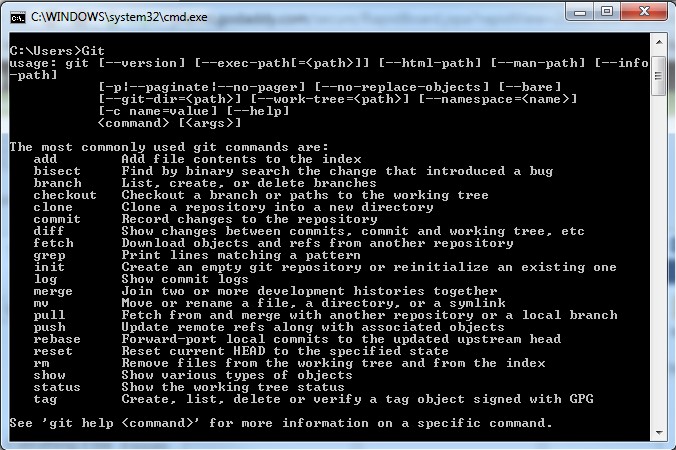
If you see this output from your command line then you are set up and we are ready to get started. The next step we need to do is create a local folder that we will use as our Git Repository.
-Create a folder at C:\GitRepo
-Use your command line and change directories to new created directory.
-Run Git Command:  Git init
-Verify you have the results below.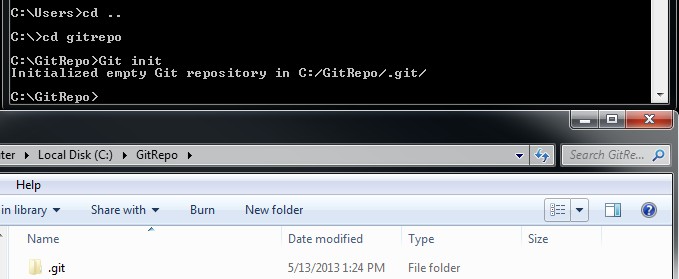
The top being the command prompt and the bottom showing the folder you created and now a .git file. The .git file is a Git repository and will host all the files that we add and commit to it throughout this tutorial. The next thing we need to do is set some global config settings so that we have a username and email associated with our commits.
-Run Git Command: Git config --global user.name "Adam Drummond"
-Run Git Command: Git config --global user.email "adam@adamthings.com"
Now let’s make our first commit. In the directory we created C:\GitRepo lets create a text file and add a line of content to it. We will then add this to our repository and then commit it.
-Create text file name MyFirstCommit.txt
-Add some content to text file.
-Run Git Command: Git add MyFirstCommit.txt
At this point in time, our file is in what would be considered a staging area. It’s been adding to the repository but it has not been ‘checked in’ or ‘committed’ to the repository.
-Run Git Command: Git commit --m "This is my first commit."
This should be what your current state looks like.

The last piece we will cover in this blog post is seeing the history of what has happened. For this we will use the following command.
-Run Git Command: Git log --oneline --graph --decorate –allSince we have only made one commit, our graph is only one line.

This graph will continue to grow in the next blog post as we add some branching in Git. Stay Tuned.

Recent Comments